Strange
Day

PhotosContact Me

words and pictures from Patrick Calder

Category Archives: renovations

Replacement Window

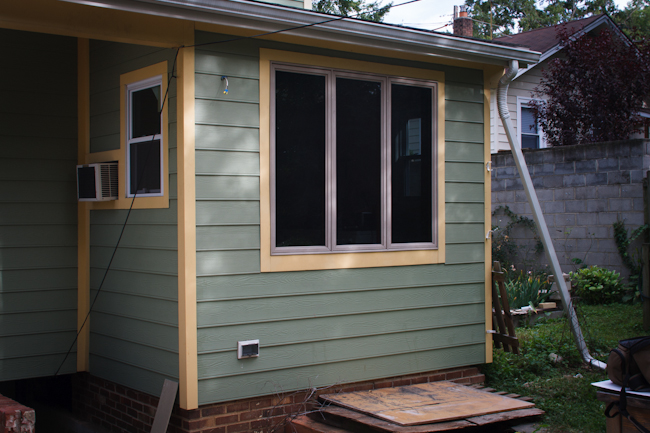
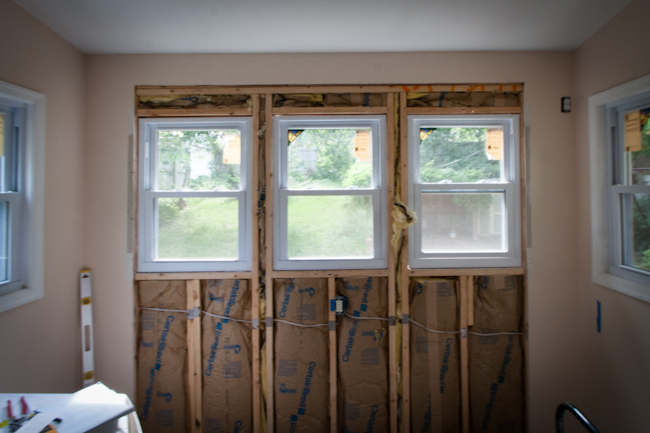
Over the last few months, we’ve been working on replacing some windows on the back porch. Previously, there had been a row of small windows, set high on the wall. They were fine for ventilation, but not much else. Unless you were tall, you didn’t have much of a view. And even then, it was kind of sad.

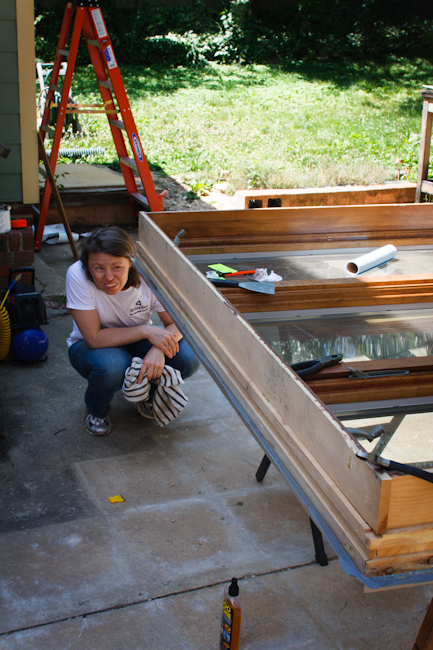
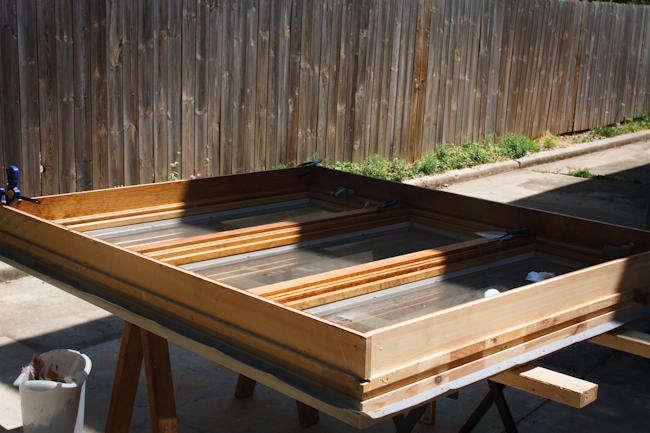
We picked up a new, large, casement picture window from Community Forklift.

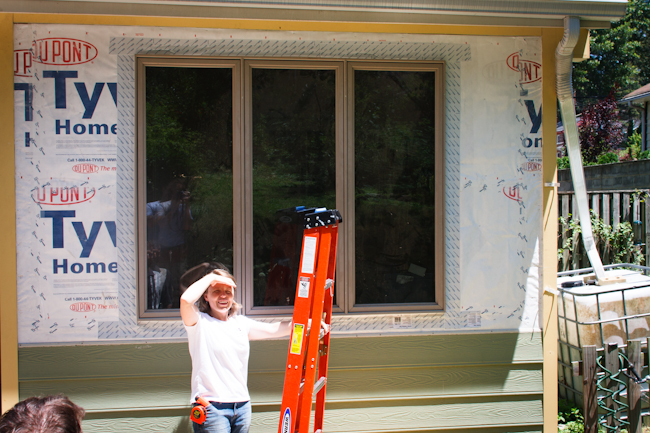
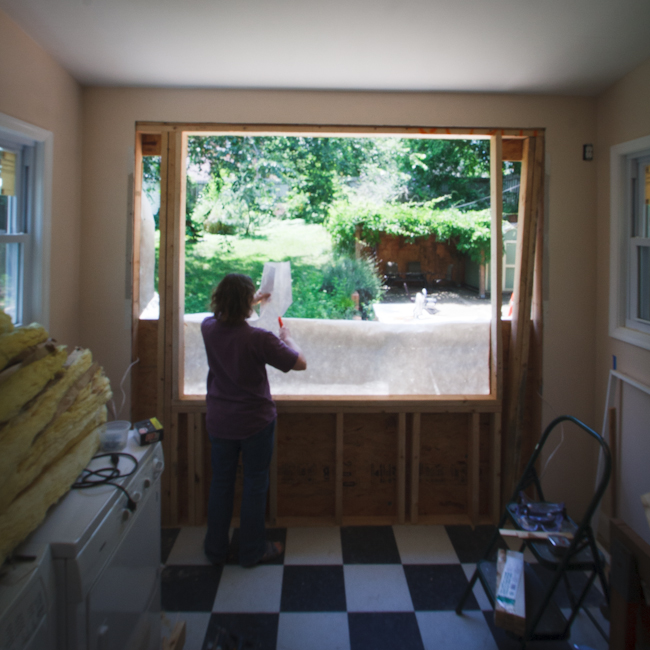
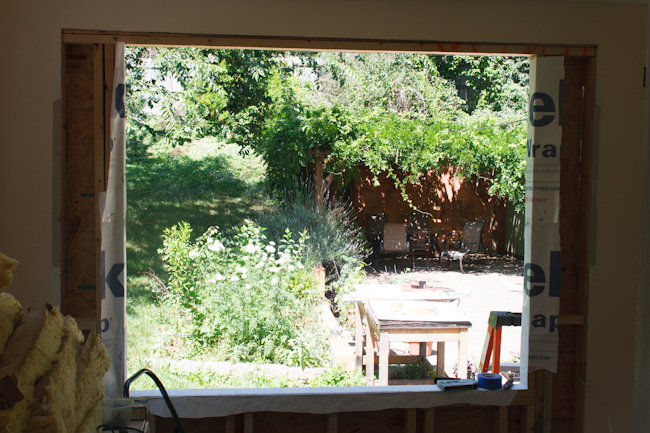
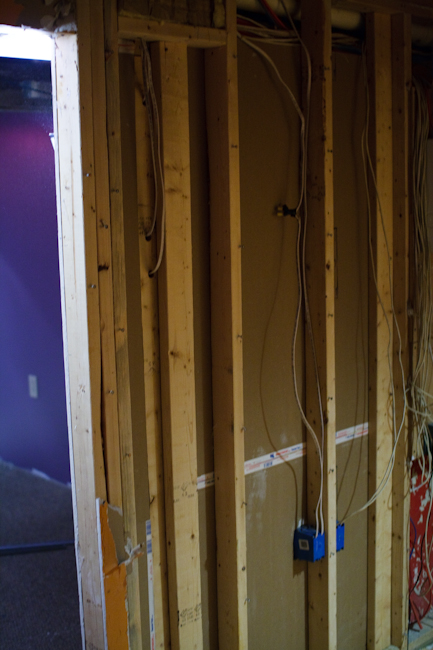
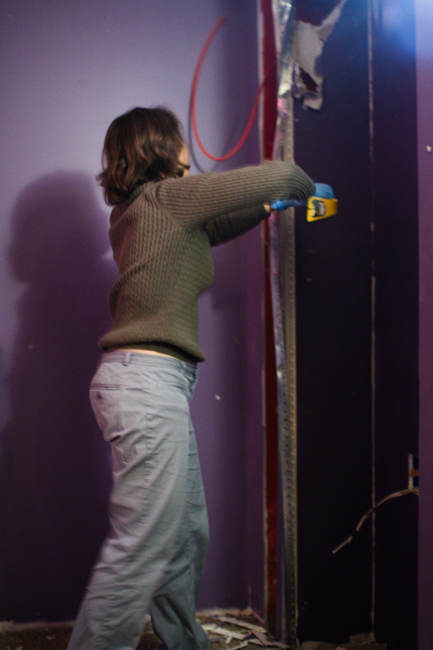
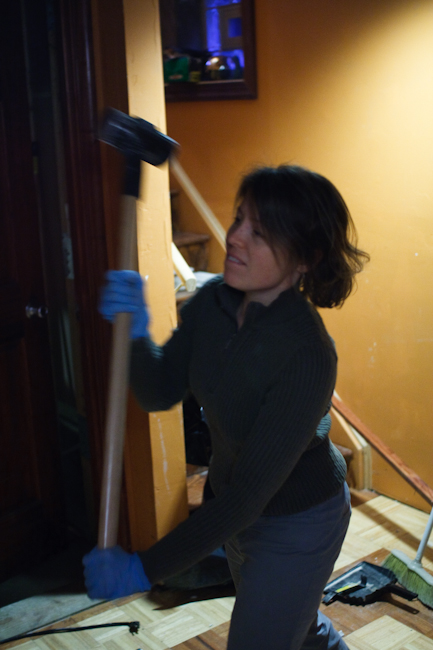
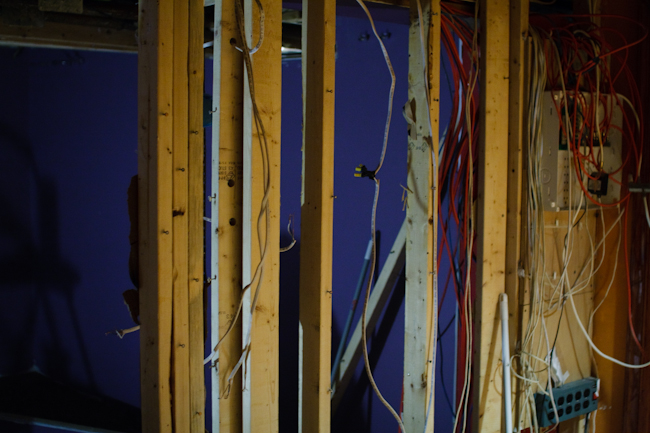
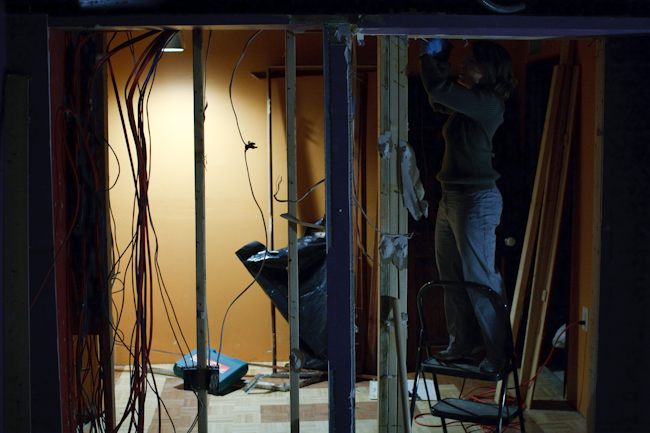
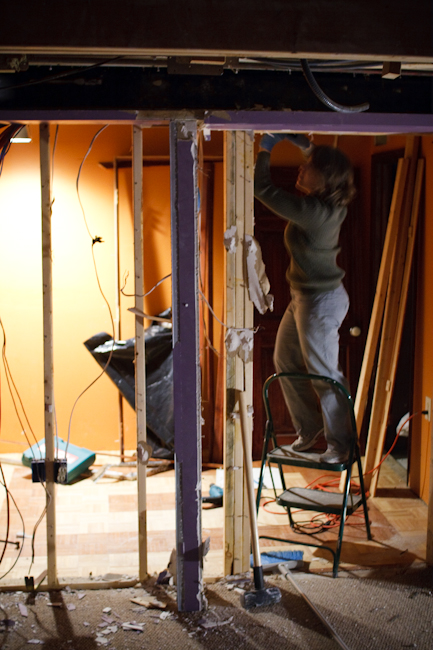
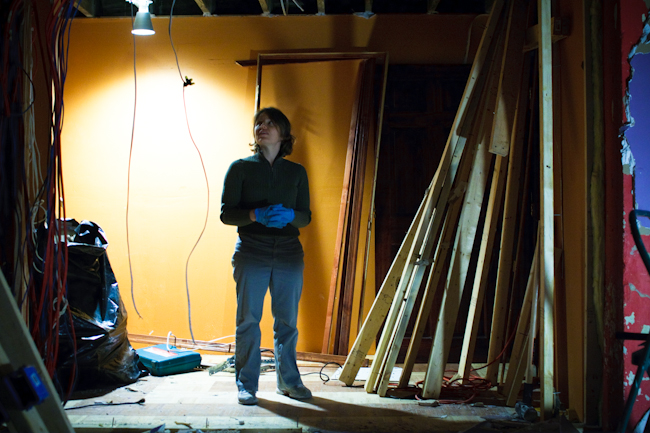
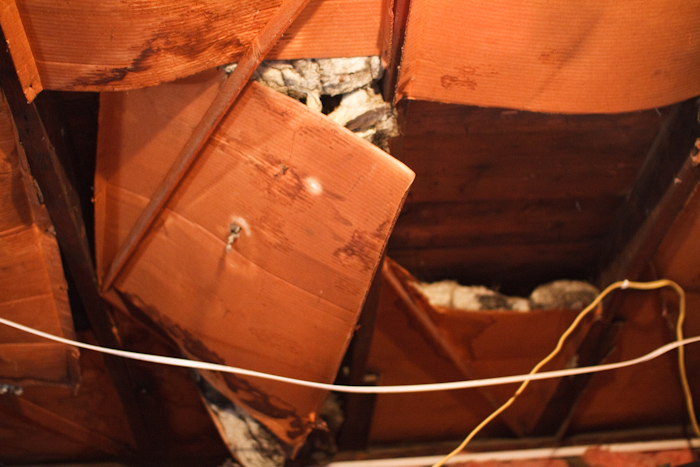
We had to first remove the old windows. We took out all the trim. Took out everything securing the windows in place. Pulled the windows, themselves. We then had to open up the walls some more. The new window would be substantially taller, but not quite as wide as the old space for the 3 separate windows. Siding was removed as carefully as possible. We removed drywall and trimmed own the studs. We had to put in a few new cripple studs to support the new window. We did get lucky that the new window would basically be butting up against a 9 inch beam at the top, so there was plenty of support there.

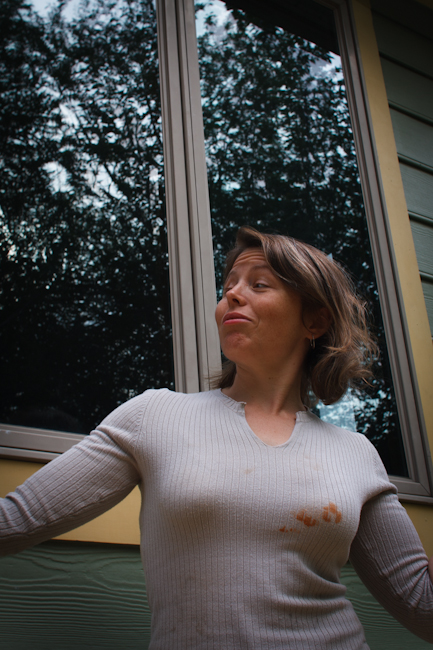
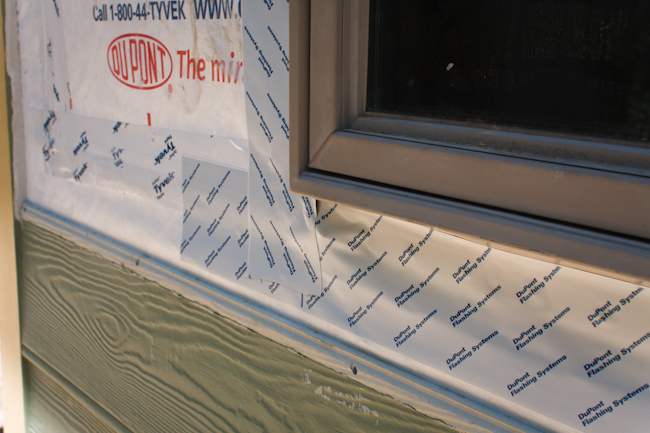
We trimmed off the excess sheathing (particle board) and filled in along the sides. There was 200 hundred different kinds of sealing in a million different places. (Okay… maybe 3 kinds… but it felt like more). Once everything was set, we thankfully had a friend in town who knew something about such work. He helped us place the new window in, and shim it and tack it in place. And it really looked awesome. Suddenly, what had been a small awkward room in back became a place you actually liked to sit and relax.

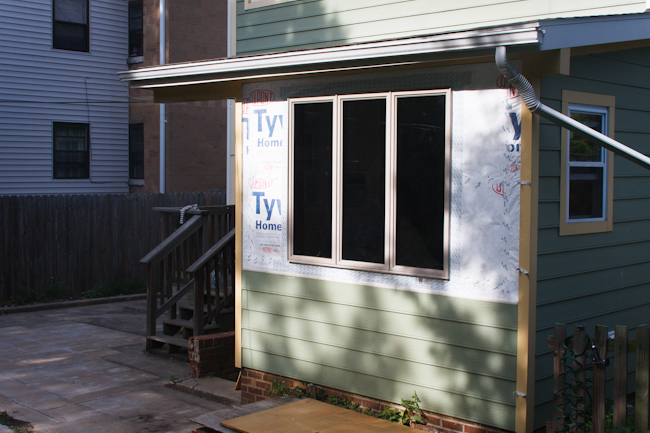
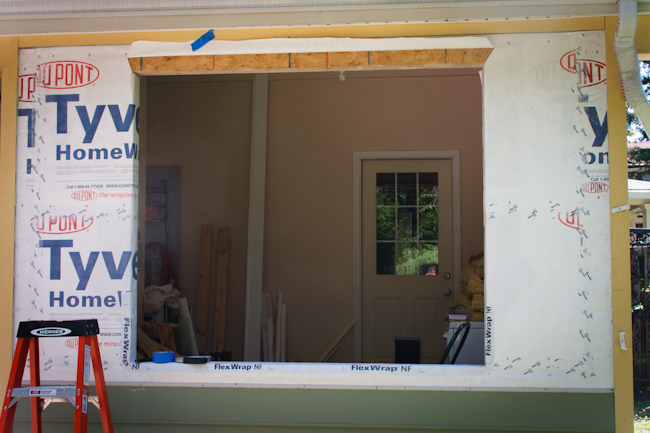
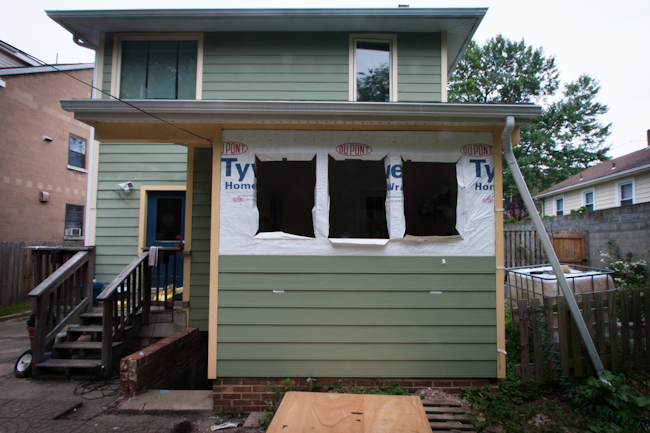
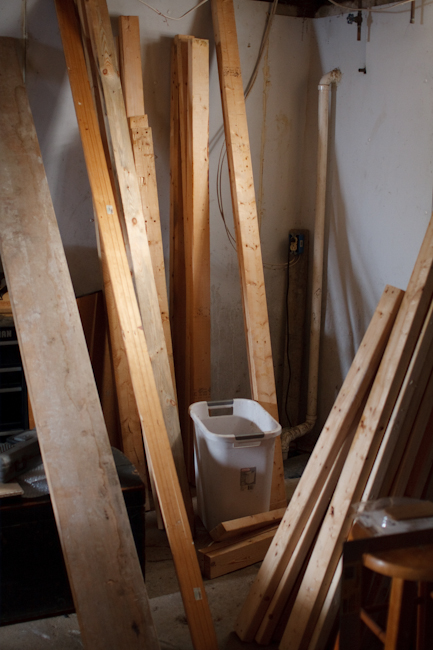
We couldn’t save too much of the old siding. And the trim that had been cut for 3 small windows was never going to work for one giant window. So we picked up some new hardyboard siding, and some trim. Had the paints matched from some scrap pieces, and pre-painted the trim.

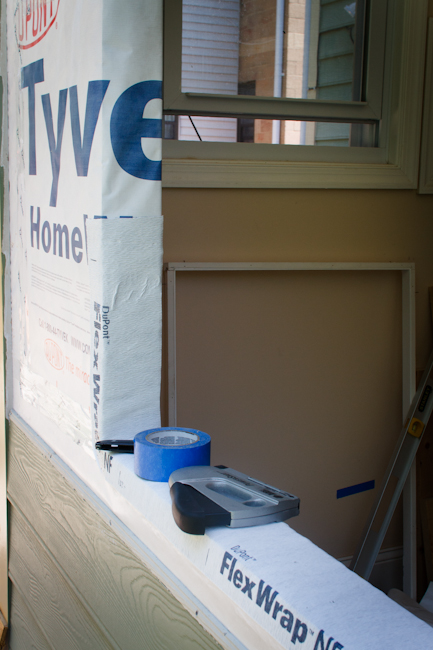
It’s an old house, so nothing is perfectly straight. Every piece of new siding had to be custom cut. We thankfully found a pneumatic hammer to help with the attaching the boards, so that moved smoothly. We sealed everything once, and would later seal things again. In between, we painted the siding, and touched up the trim.

(Before painting, a friend thankfully pointed out that while we had the wall open, we should consider whether we wanted to run any new wiring. So we installed an exterior outlet, and a new security light.)

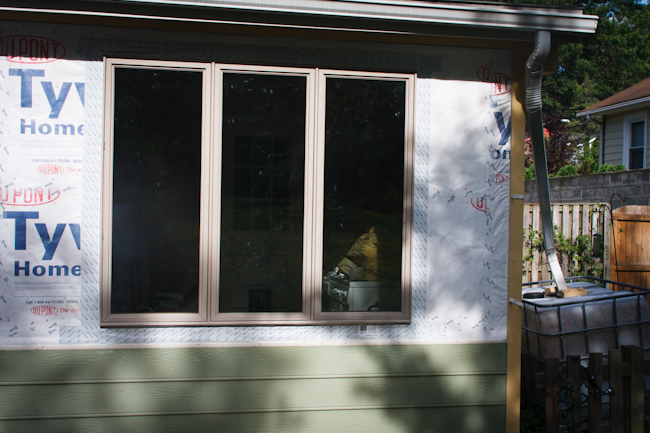
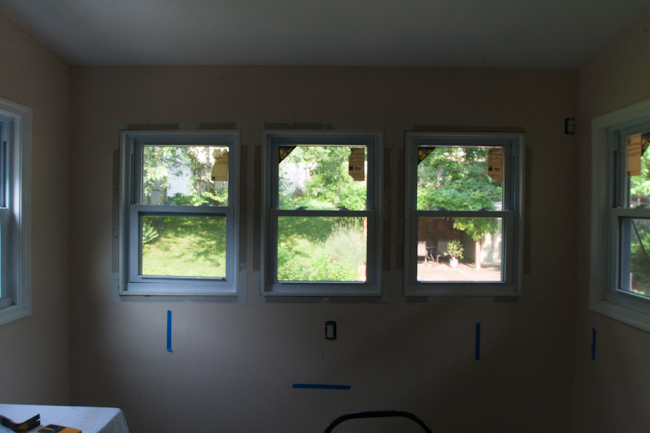
It was really quite amazing, as the paint went up. It all just clicked. We still have to finish off the light, and replace the drywall inside. But it feels like a whole wall again. Only now the view is amazing, and the window actually looks like it belongs with the house. I can’t believe we actually opened up a whole wall and got it back to such a beautiful state.


Please keep in mind that this post is more than 6 years old. Who the hell knows what I was thinking back then?! Damn kids... get off my lawn!

Basement

We’ve been working in the basement.

When we got the place, the basement was divided into four rooms: 3 functional rooms and a small ‘lobby’ area at the base of the stairs. The lobby was mostly useless… too small todo anything in; no light; too central to obstruct with storage. So Heidi suggested we take down the wall dividing the ‘lobby’ from what had been a media room, making a much larger area, with direct access from the stairs.

We also decided to take down the finished ceiling. We’d already removed part of it to get access to some pipes, a couple months ago. But there was a good chance there were more rat stuff up there. So we’ve spent the last couple weekends in demolition mode. Took out the wall. Took out the ceiling.

The wall was fairly simple. The drywall was ripped down. I pried apart what I could of the framing. And the rest gave way to a sledgehammer and sawz-all.

The ceiling… the ceiling was more interesting. I tore down the drywall by hand, with the occasional influence of the sledgehammer. Very quickly we found it was covered in rat shit. Every piece pulled down rained pellets on the floor. (Thank gawd for tyvek coveralls). Heidi was following along behind me, removing the remains of the insulation. (The rats had obviously been using it for runs and nests.) At one point, I heard a squeal, and saw Heidi run from the room. Our second rat corpse had been found, when it fell on her head.

The ceiling has been cleared. The wall is gone. For good measure, we also pulled up the carpet. (Which resulted in an immediate improvement in the smell of the basement.) This weekend has been all about the floor. We spent all of today putting in new flooring. A rough start, but it’s going in well now.


Please keep in mind that this post is more than 6 years old. Who the hell knows what I was thinking back then?! Damn kids... get off my lawn!

New window

Replaced a window in the basement this weekend. Dug through the windows at Community Forklift until we found something about the right size. Brought it home, and removed all the old materials. Had to remove a bit of framing, (Gawd Bless Sawzalls), but it then fit nicely, and looks better than I expected.

20120123 IMG 1630

Please keep in mind that this post is more than 6 years old. Who the hell knows what I was thinking back then?! Damn kids... get off my lawn!

In the Attic

We knew when we bought the house that the attic was in less than ideal condition. But we hadn’t been up there since closing on the house. Since then, there’s been a hurricane, and earthquake, and numerous rambunctious cats; all shaking up the house. So about a week ago, when we went back up the ladder, things were in rough shape. Maybe a third to a quarter of the attic floor was uninsulated. The rafters had once all been insulated and covered in cardboard, but had long since begun to fall apart. There were drooping and fallen panels, and lots of patches of missing insulation. And some of the insulation on the floor had been disrupted during renovations, and never replaced properly.

So overall, it was a half-assed mess.

We first cleaned up what we could. Removing fallen, moldy cardboard and insulation. Pulling down some now-empty panels. And removing rafter insulation over areas we would soon be insulating, so as not to have to do it later when there was fresh insulation in place. We put down some insulation that was still in rolls sitting in the attic. When that was all done, we figured out the remainder we would need, purchased supplies, and finished up insulating the rest of the floor yesterday.

Eventually, we’ll probably remove the rest of the rafter insulation that’s in such rough shape. The current plan involves having the rafters re-insulated using the expanding foam.

Please keep in mind that this post is more than 6 years old. Who the hell knows what I was thinking back then?! Damn kids... get off my lawn!

let there be light

The house – when we bought it – had an overly large, inappropriate light fixture on the front porch. So it became a low-priority fix, with us occasionally looking at new fixtures. But when we came upon something nice and size-appropriate at the Community Forklift, we grabbed it, and prepared to put it up.

After shutting off the power, we took down the old fixture. Fairly simple… just screwed in. Even simpler than we expected, really since there was no junction box, nor much of anything else. Just a couple brackets screwed to the wall and shimmed in place.

20111106 IMG 2853

A little bit crazy, but we were taking it down anyway.

The new fixture was going to be ceiling-mounted, rather than wall-mounted like the old one. So we searched for the appropriate placement, and planned on fishing the wires from where they had dropped down to the old fixture, to the middle of the porch for the new fixture. Lots of fumbling around, trying to grab the right lines.

But Heidi noticed something weird. So I reached up and grabbed some lines that were unexpectedly right near the new hole. Pulled them through. Turns out, the line running to the old fixture had simply been loosely tied into a electric line running the length of the porch. (Presumably from some even older fixtures). Just capped and lightly taped, and dumped on top of the wooden ceiling. Again, no junction box.

20111106 IMG 2859

Well, we installed the junction box, installed the light. Taped up everything. It all looks much better. And we try not to think what else we’re going to find in the future.

Please keep in mind that this post is more than 6 years old. Who the hell knows what I was thinking back then?! Damn kids... get off my lawn!

Floors

The first thing we did with the new house was have the floors redone. They’re the original hard pine floors, and seemed to be in generally good shape. But some previous owner had coated them in this gawdawful stuff that sat on top of the boards like a plastic coating, coloring them deep red. And given that they barely managed to make it all the way to the baseboards, where it would start to glop up, I doubt it was a professional application. There was also a marble tile in the foyer/hallways, that stretched back to the kitchen. Just the site off it made Heidi twitch involuntarily, so it had to go as well.

Our initial preparation consisted of pulling up a ridiculously large area of tile surrounding one of the fireplaces. They were obviously looking to cover up something. There was a patch on one side, but beneath the other side, the floor was beautiful. This was quickly followed by the professionals coming in and tearing up the tile floor in the hall. Having seen it all from the porch where I was watching over things for the first day or so, the professional crew (Universal Floors) was worth it . That tile was down good. Glue, screws, etc.
They next came in and sanded down the floors, (uncovering a few new, interesting marks, cuts, and gouges.) Two passes with the big monster belt sander, and hand work along the edges.
We had a couple boards that had previously been patched with something quick and dirty, like maple. Really stood out once everything was sanded down. The flooring people thankfully reclaim wood whenever they can, so they had a stock of old wood to patch in.
Then they finished the floors. Two coats of Osmo, which is a very natural color — no tinting. Soaks into the wood, rather than sitting on top. Feels good to me, though Heidi is still cautious about it. But everyone agrees it’s much better than the old floor.

Please keep in mind that this post is more than 6 years old. Who the hell knows what I was thinking back then?! Damn kids... get off my lawn!